Welcome! This comprehensive guide unlocks the full potential of your ReliOn Prime‚ designed for simple‚ accurate glucose monitoring at home.
It’s crafted to empower you with knowledge‚ ensuring confident self-management of your health journey‚ utilizing fresh capillary whole blood samples.
This manual details features‚ functions‚ and troubleshooting‚ providing a seamless experience with your new ReliOn Prime Blood Glucose Meter.
What is the ReliOn Prime?
The ReliOn Prime is a user-friendly blood glucose monitoring system meticulously engineered for individuals managing diabetes. It’s a compact‚ portable device designed to provide quick and accurate readings of blood glucose levels‚ empowering users to make informed decisions about their health.
Specifically‚ the ReliOn Prime utilizes electrochemical technology to quantitatively measure glucose within fresh capillary whole blood – samples conveniently obtained from fingertips or the palm. This meter is intended for in vitro diagnostic use‚ meaning it’s designed for testing outside of the body.
It’s a vital tool for self-monitoring‚ helping individuals track their glucose levels throughout the day and understand how diet‚ exercise‚ and medication impact their readings. The system is comprised of the meter itself‚ alongside dedicated ReliOn Prime test strips‚ and a lancing device for obtaining blood samples. It’s a complete solution for effective glucose management;
Intended Use and Audience
The ReliOn Prime is primarily intended for self-testing of blood glucose by individuals with diabetes. It’s designed to assist in monitoring glucose control and making informed decisions regarding diet‚ exercise‚ and medication‚ in consultation with a healthcare professional.
This system is ideally suited for individuals who require regular blood glucose monitoring‚ including those newly diagnosed with diabetes‚ those adjusting their treatment plans‚ or those seeking a more proactive approach to managing their condition.
The target audience encompasses a broad range of users‚ from those comfortable with technology to those seeking a simple and straightforward monitoring solution. It’s particularly beneficial for individuals who prefer the convenience and privacy of testing at home. However‚ it’s crucial to remember that the ReliOn Prime is a tool to supplement‚ not replace‚ regular medical check-ups and professional guidance.
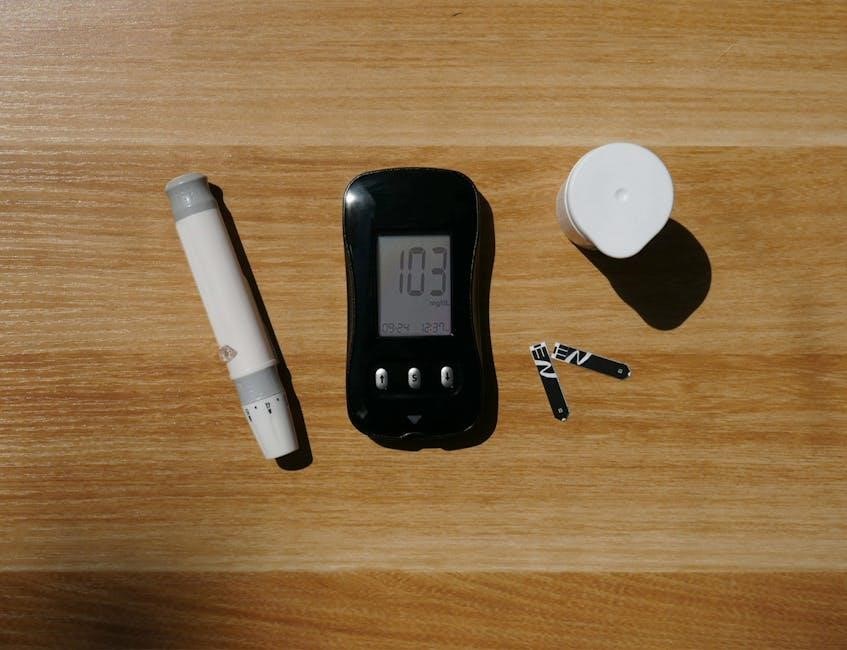
Package Contents – What’s Included
Upon opening your ReliOn Prime kit‚ please verify that all components are present. Your package should contain the following items:
- ReliOn Prime Blood Glucose Meter: The central unit for displaying readings.
- ReliOn Prime Test Strips: A vial of 50 test strips for glucose measurement.
- Lancing Device: Used to obtain a small blood sample;
- Lancets: Sterile‚ single-use lancets for the lancing device (typically 10-25).
- Control Solution: For verifying meter and test strip functionality.
- Owner’s Manual: This guide providing detailed instructions.
- Quick Reference Guide: A condensed version of key instructions.
- Battery: Typically a CR2032 battery‚ pre-installed or included separately.
If any items are missing or damaged‚ please contact customer support immediately for assistance. Do not attempt to use a damaged or incomplete kit.
Setting Up Your ReliOn Prime
Preparation is key! This section guides you through the initial setup of your ReliOn Prime meter‚ ensuring accurate readings and a smooth user experience.
We’ll cover battery installation‚ date/time configuration‚ and understanding the meter’s display for optimal functionality.
Inserting the Battery
Powering Your Meter: The ReliOn Prime glucose meter requires one CR2032 battery to operate. Before first use‚ or when the display indicates a low battery‚ you’ll need to install or replace it.
Step-by-Step Guide: Locate the battery compartment on the back of the meter. Gently slide the battery compartment cover in the direction indicated by the arrow. Insert the CR2032 battery‚ ensuring the positive (+) side is facing up‚ as indicated by the diagram inside the compartment.
Secure Closure: Carefully slide the battery compartment cover back into its original position until it clicks securely. If the meter does not power on‚ double-check that the battery is inserted correctly‚ with the positive side facing up. Always dispose of used batteries responsibly‚ following local regulations.
Important Note: Avoid mixing old and new batteries. Using incorrect battery types can damage the meter and void the warranty. A fresh battery ensures accurate and reliable glucose readings.
Setting the Date and Time
Accurate Records: Correct date and time settings are crucial for accurate record-keeping and tracking of your blood glucose readings. The ReliOn Prime allows you to easily set the date and time according to your preference.
Initiating Setup: Ensure the meter is powered on. Press and hold the ‘Set’ button until the year begins to flash on the display. Use the ‘Up’ and ‘Down’ buttons to adjust the year to the correct value. Press ‘Set’ again to confirm and move to the month setting.
Sequential Adjustment: Repeat this process for the month‚ day‚ hour (in 24-hour format)‚ and minute. After setting the minute‚ press ‘Set’ one final time to save the date and time. The meter will return to the normal display mode.
Verification: Double-check the displayed date and time to ensure accuracy. If incorrect‚ repeat the process. Proper date and time settings are essential for reliable data analysis and trend monitoring.
Understanding the Meter Display
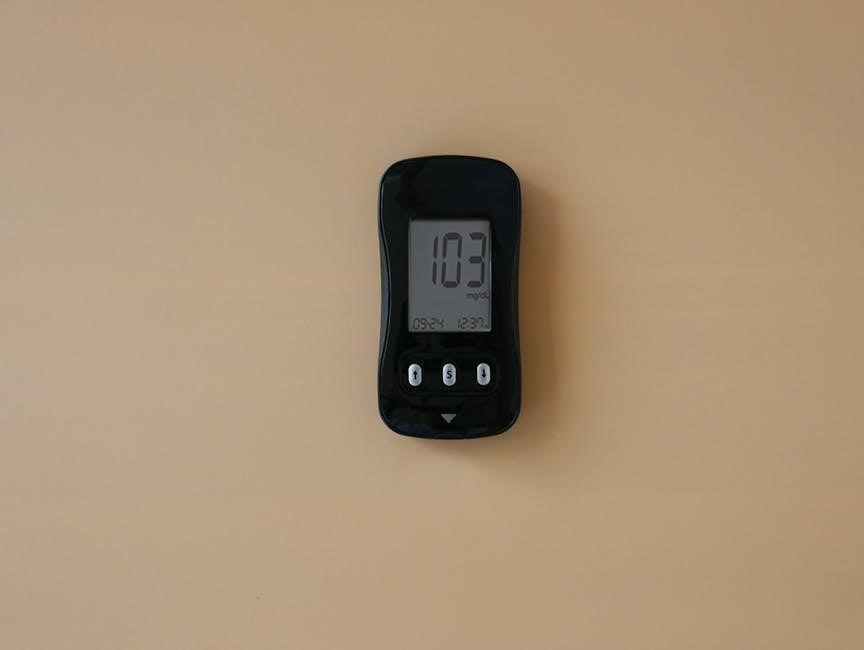
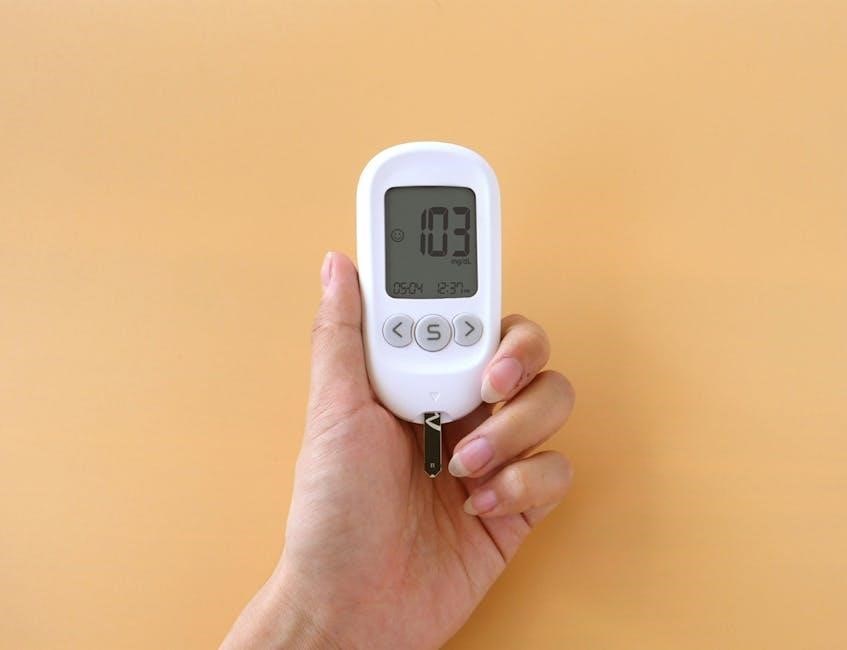
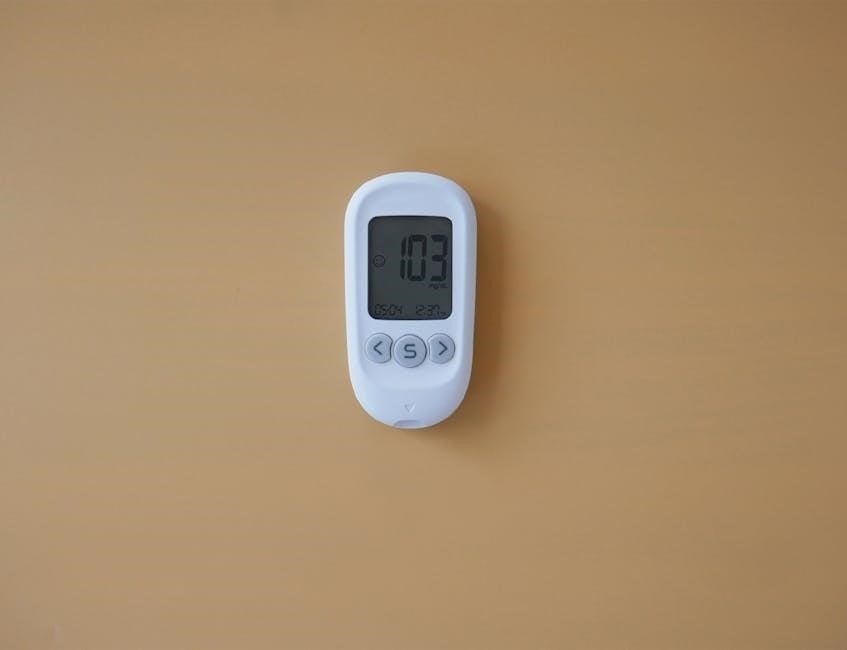
Clear Visibility: The ReliOn Prime features a user-friendly display designed for easy readability of your blood glucose results. Familiarizing yourself with the display icons is key to interpreting your readings correctly.
Key Indicators: The primary display area shows your current blood glucose level in mg/dL. A battery indicator displays the remaining battery life. A strip port symbol confirms proper test strip insertion.
Memory & Averaging: Icons indicate when memory recall is active‚ or when the meter is calculating average results. Error codes‚ if present‚ will appear with a specific symbol‚ prompting you to consult the troubleshooting section;
Testing Status: During a test‚ the display will show a flashing symbol indicating the meter is analyzing the blood sample. Once complete‚ your glucose reading will be displayed steadily. Understanding these indicators ensures accurate monitoring.
Performing a Blood Glucose Test
Testing Simplified: This section guides you through each step‚ from preparing the lancing device to interpreting your results‚ ensuring accurate glucose monitoring at home.
Follow these instructions carefully for reliable readings using fresh capillary whole blood samples drawn from fingertips or palms.
Let’s begin!
Preparing the Lancing Device
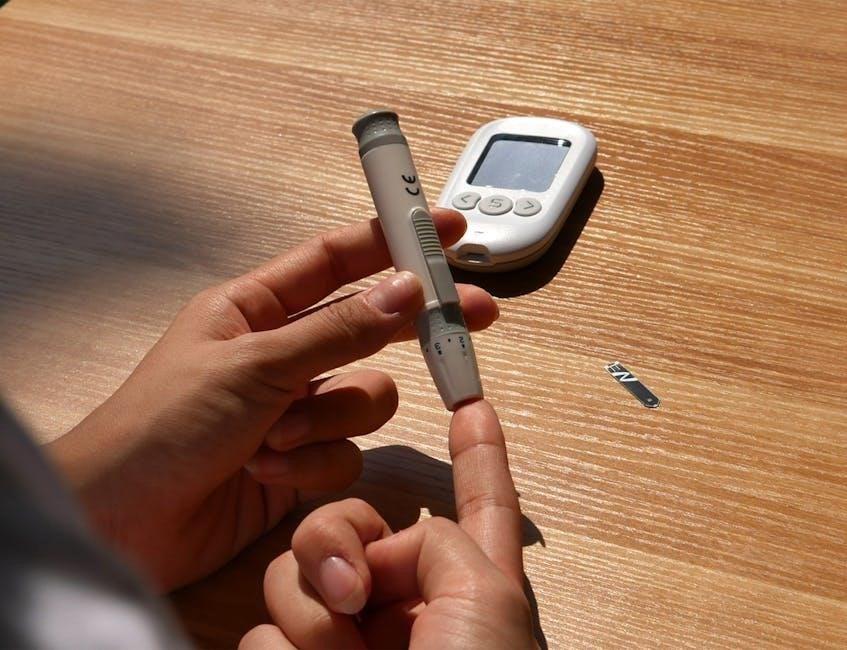
Adjusting Depth Settings: Your ReliOn Prime lancing device allows you to customize the penetration depth for a comfortable and effective blood sample collection. Begin with the lowest setting (1) and gradually increase it until you achieve an adequate blood drop without excessive discomfort.
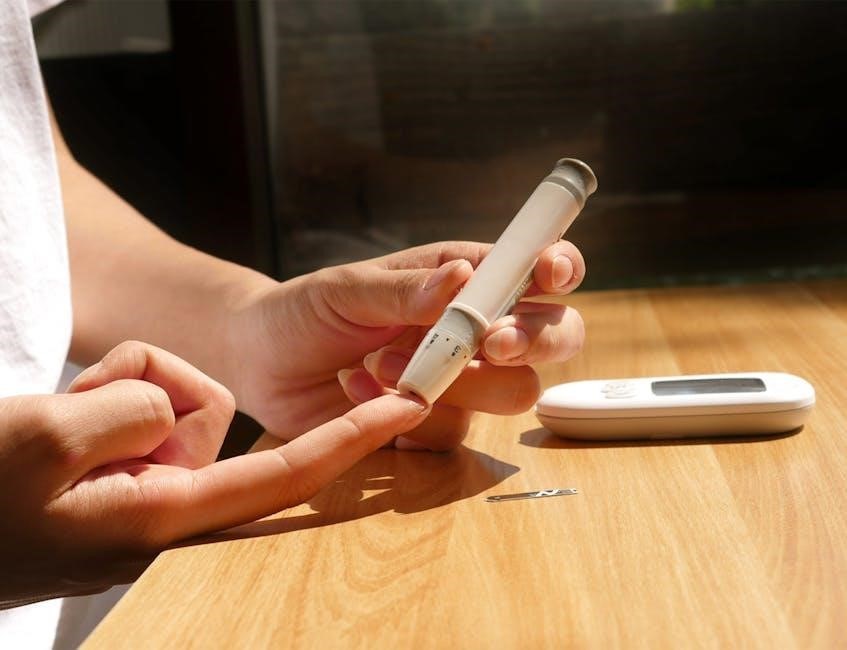
Loading a Lancet: Remove the protective cap from a new‚ sterile lancet. Firmly insert the lancet into the lancing device‚ ensuring it clicks securely into place. Twist off the protective cover of the lancet while it is still in the device – do not reuse lancets!
Cocking the Device: Pull back on the lancing device’s plunger to “cock” it‚ preparing it for use. You’ll hear or feel a click indicating it’s ready. Avoid pressing the release button until you are ready to obtain your blood sample. Remember to always use a fresh‚ sterile lancet for each test to prevent infection and ensure accurate results.
Safety First: Never force the lancet into the device‚ and always dispose of used lancets properly in a sharps container.
Obtaining a Blood Sample
Warming Your Hands: Before testing‚ warm your hands to encourage blood flow. Gently massage your fingers or run them under warm water. Avoid excessive rubbing‚ as this can affect results.
Selecting a Site: Choose a testing site on the side of your fingertip or palm. Avoid using the very tip or center of your finger. Rotate testing sites to prevent soreness.
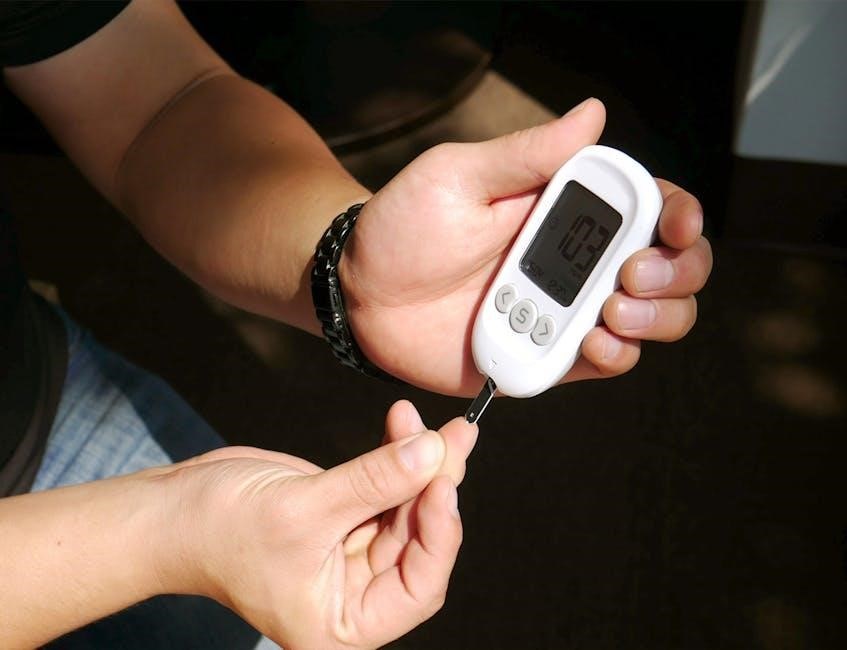
Puncturing the Skin: Press the lancing device firmly against your chosen site and press the release button. A small drop of blood will appear. If the blood drop is insufficient‚ gently squeeze your finger – avoid excessive squeezing‚ as this can dilute the sample.
Wiping Away the First Drop: Gently wipe away the first drop of blood with a clean‚ dry cloth. The subsequent drop is the one you’ll apply to the test strip for accurate readings. Ensure your hands and the testing site are dry before proceeding.
Applying Blood to the Test Strip
Inserting the Strip: First‚ ensure the ReliOn Prime meter is on and ready. Insert a new test strip into the meter‚ matching the strip’s contact pad to the meter’s port. The meter will typically display a symbol indicating it’s ready for a blood sample.
Applying the Blood: Gently touch the edge of the test strip to the blood drop. The strip will automatically draw the required amount of blood via capillary action – do not smear or wipe the blood onto the strip.
Sufficient Sample: Ensure the test strip’s fill chamber is completely filled with blood. An insufficient sample may result in an error message or inaccurate reading. Do not add more blood after the strip has drawn a sample.
Waiting for Results: Once the blood is applied‚ the meter will begin counting down. Remain still and avoid disturbing the meter until the glucose reading is displayed.
Reading and Interpreting Results
Displaying Your Reading: After the countdown‚ your blood glucose result will appear on the meter’s display‚ typically in milligrams per deciliter (mg/dL). The reading indicates your blood glucose level at the time of the test.
Understanding the Range: Consult your healthcare provider to determine your target blood glucose range. Generally‚ readings before meals should be within a specific range‚ and readings two hours after meals should fall within another.
High and Low Readings: Be aware of what constitutes a high or low reading based on your individual needs. If a reading is significantly outside your target range‚ follow your healthcare provider’s instructions.
Record Keeping: It’s crucial to record your results‚ along with the date and time‚ to track trends and share information with your doctor. Utilize the meter’s memory function for easy recall.
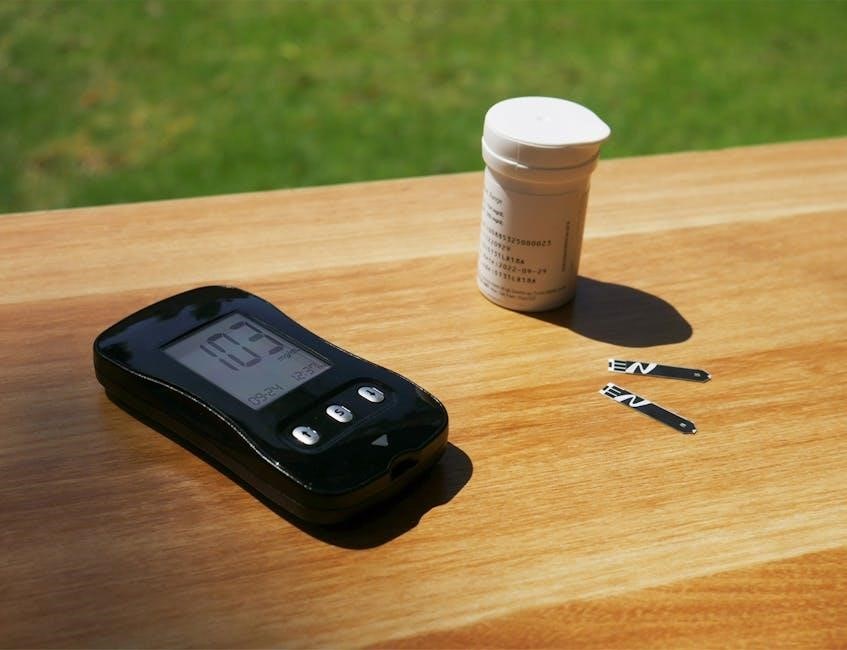
Understanding Test Strip Usage
Essential for Accuracy: ReliOn Prime test strips are specifically engineered for use with the ReliOn Prime meter‚ ensuring precise glucose measurements from capillary whole blood.
Proper handling and storage are vital for reliable results‚ maintaining strip integrity and preventing inaccurate readings;
Always check expiration dates!
ReliOn Prime Test Strip Features
Advanced Technology: ReliOn Prime test strips incorporate advanced biosensor technology‚ facilitating rapid and accurate glucose readings with a small blood sample. These strips are designed for in vitro diagnostic use‚ specifically calibrated for the ReliOn Prime meter.
Capillary Blood Sampling: They are intended for use with fresh capillary whole blood obtained from the fingertips or palm‚ offering convenience and minimizing discomfort. The strips feature a clearly defined sample application area‚ ensuring optimal blood uptake and preventing errors.
Gold Electrode System: The strips utilize a gold electrode system‚ enhancing accuracy and reliability. This system reacts specifically with glucose in the blood‚ providing a precise measurement. Each strip is individually packaged to maintain freshness and prevent contamination‚ contributing to consistent performance.
Easy to Read Results: The strips work seamlessly with the meter to display clear‚ easy-to-read glucose results‚ empowering users to effectively manage their diabetes.
Proper Test Strip Storage
Maintaining Integrity: Proper storage is crucial for ensuring the accuracy and reliability of your ReliOn Prime test strips. Always store the strips in their original vial‚ tightly closed immediately after removing one. This protects them from moisture‚ humidity‚ and extreme temperatures.
Ideal Conditions: Store the vial in a cool‚ dry place‚ ideally between 60°F and 86°F (16°C and 30°C). Avoid direct sunlight‚ heat sources‚ and areas with high humidity‚ such as bathrooms. Do not refrigerate or freeze the test strips.
Protect from Contamination: Never touch the test strip’s contact pads. Handle strips only by the edges to prevent contamination and ensure accurate results. Discard any strips that appear damaged or have been exposed to moisture.
Shelf Life: Adhering to these storage guidelines will help maintain the strips’ effectiveness until their expiration date‚ guaranteeing dependable glucose monitoring.
Test Strip Expiration Dates and Impact
Expiration Matters: Always check the expiration date printed on the test strip vial before each use. Using expired test strips can lead to inaccurate blood glucose readings‚ potentially impacting your diabetes management decisions. Do not use strips past their expiration date.
Chemical Degradation: Over time‚ the chemical reagents on the test strips degrade‚ affecting their ability to react accurately with glucose in your blood sample. This degradation is accelerated by improper storage conditions‚ like exposure to humidity or heat.
Potential Risks: Inaccurate readings from expired strips can result in incorrect insulin dosages or inappropriate dietary choices. Regularly inspect your strip supply and discard any expired vials immediately.
Reliable Results: Using unexpired‚ properly stored test strips is fundamental to obtaining reliable and trustworthy blood glucose measurements with your ReliOn Prime meter.
Meter Features and Functions
Explore advanced capabilities! The ReliOn Prime offers memory recall for past readings‚ averaging functions for trend analysis‚ and helpful error codes for troubleshooting.
These features empower informed diabetes management.
Memory Recall – Reviewing Past Readings
Accessing Your History: The ReliOn Prime glucose meter conveniently stores your previous blood glucose readings‚ allowing you to track your progress and identify patterns over time. This feature is invaluable for understanding how diet‚ exercise‚ and medication affect your glucose levels.
How to Recall: To access your reading history‚ first ensure the meter is turned on. Then‚ use the designated buttons (refer to the ‘Understanding the Meter Display’ section for button identification) to scroll through your previously recorded results. The meter displays the date and time each reading was taken‚ providing a clear timeline.
Memory Capacity: The ReliOn Prime boasts a substantial memory capacity‚ typically storing hundreds of readings. This allows for comprehensive long-term monitoring. However‚ the exact number of stored readings may vary; consult the meter’s specifications for precise details. Regularly reviewing your history‚ in consultation with your healthcare provider‚ is a key component of effective diabetes management.
Clearing Memory: The memory can be cleared‚ but be cautious as this action is irreversible.
Averaging Function – Calculating Average Results
Understanding Averages: The ReliOn Prime simplifies long-term glucose monitoring by automatically calculating average readings. This feature provides a broader perspective on your glucose control than single readings alone‚ helping you and your healthcare provider assess treatment effectiveness.
Calculating Your Average: The meter typically allows you to calculate averages over different time periods – commonly 7‚ 14‚ and 30 days. Access this function through the meter’s menu‚ using the designated buttons (refer to the ‘Understanding the Meter Display’ section). The average glucose level will then be displayed on the screen.
Interpreting Results: Regularly monitoring your average glucose levels helps identify trends and potential issues. Discuss these averages with your doctor to adjust your diabetes management plan as needed. Remember‚ averages are a valuable tool‚ but should always be considered alongside individual readings and overall health status. Consistent monitoring is key!
Error Codes and Troubleshooting
Decoding Error Messages: The ReliOn Prime displays error codes to indicate potential issues during testing. These codes aren’t causes for alarm‚ but signals requiring attention. Common codes include “LO” (low sample)‚ “HI” (high sample)‚ and “E-1” (strip error).
Troubleshooting Common Issues: If you encounter an error‚ first re-test with a new strip. Ensure sufficient blood is applied and the strip is inserted correctly. For “LO” or “HI”‚ verify your meter is within its operating temperature range. If errors persist‚ check the test strip expiration date.
Seeking Further Assistance: Refer to the complete error code list in this manual for detailed explanations and solutions. If the problem continues‚ contact ReliOn customer support for assistance. Do not attempt to disassemble or repair the meter yourself. Proper troubleshooting ensures accurate results and reliable monitoring.
Important: Never ignore error messages.
Maintaining Your ReliOn Prime
Regular care extends your meter’s life and ensures accuracy. Clean it routinely‚ dispose of strips and lancets safely‚ and replace batteries promptly for optimal performance.
Cleaning the Meter
Maintaining a clean meter is crucial for accurate readings and preventing the spread of infection. Before cleaning‚ always ensure the meter is switched off. Never immerse the meter in water or any cleaning solution.
Dampen a soft‚ lint-free cloth with 70% isopropyl alcohol. Gently wipe the exterior surfaces of the meter‚ including the test strip port and the display screen. Avoid getting any liquid into the openings.
Pay particular attention to areas that may have come into contact with blood. Allow the meter to air dry completely before inserting a new test strip or using it again. Do not use abrasive cleaners‚ harsh chemicals‚ or strong detergents‚ as these can damage the meter’s surface and internal components.
Regular cleaning‚ ideally after each use or at least weekly‚ will help maintain the longevity and reliability of your ReliOn Prime glucose meter. A clean meter contributes to accurate results and your overall health management.
Proper Disposal of Used Test Strips and Lancets
Safe disposal of used test strips and lancets is paramount to prevent accidental needle sticks and potential biohazard exposure. Never dispose of these items in regular household trash.
Used test strips and lancets should be treated as potentially infectious waste. Place used lancets immediately into an FDA-cleared sharps container. These containers are puncture-resistant and designed for safe disposal of sharp medical instruments.
Once the sharps container is full‚ follow your local regulations for proper medical waste disposal. Many pharmacies and healthcare facilities offer sharps container disposal services. Used test strips‚ while not as acutely hazardous‚ should also be disposed of responsibly – check local guidelines.
Always prioritize safety when handling and disposing of these items to protect yourself‚ your family‚ and your community. Proper disposal is a critical component of responsible diabetes management.
Battery Replacement
Maintaining a fresh battery ensures accurate and reliable operation of your ReliOn Prime glucose meter. The meter requires a standard battery type – typically AAA or CR2032‚ depending on the model; consult your device’s specific documentation.
A low battery indicator will appear on the meter display when replacement is needed. Do not attempt to use the meter if the battery is critically low‚ as this may affect test results.
To replace the battery‚ gently open the battery compartment‚ usually located on the back or side of the meter. Remove the old battery‚ noting the correct polarity (+ and -). Insert the new battery‚ ensuring proper alignment.
Close the battery compartment securely. The meter should power on automatically. If not‚ double-check the battery installation. Dispose of used batteries responsibly‚ following local environmental regulations.